There are Datacards dotted across the galaxy to provide players with cheats, and almost 400 characters with unique abilities to go about trying to unlock, as well as multiple Minikits hidden in each story level, too. Each film has five main story levels, with each level containing five illusive Minikits; if you collect all five, you’ll have bagged yourself a Microbuild ship. These are small ships that you can then use to traverse areas. Most of them are for entertainment rather than utility, but it feels rewarding to gather them all and grind for studs none the less. To help you hunt down as many Minikits and Microbuild ships as possible, we’ve organised all Minikits by episode and level, so you can easily check which ones you have and which ones you’re missing.
Episode 1 - The Phantom Menace Minikits
A Bigger Fish
The Boonta Eve
Better Call Maul
Outmanned But Not Out-Gungan-ed
Now This is Podracing
Shoot and destroy all wiring - destroy eight and get a Minikit.
Episode 2 - Attack of the Clones Minikits
A Wrestle with Wesell
The Hunt for Jango
Droid Factory Frenzy
Petranaki Panic
The Battle of the Jedi
Episode 3 - Revenge of the Sith Minikits
Out for the Count
So Uncivilised
Droid Attack on the Wookiees
Senate Showdown
The High Ground
Episode 4 - A New Hope Minikits
Boarding Party
After speaking with a hologram of Admiral and clearing the area of Stormtroopers, go left (from the entrance) rather than forward. You’ll find a Minikit behind glass, and four buttons in front of it. You’ll need to get the Gonko mount from earlier, and use the Gonko mount in this location, and have them both stand atop two of the buttons. Then, with Leia and Captain Antilles, have them each stand on the remaining buttons, and then you can go grab the Minikit! As you make your way to the Escape Pod, look to the door on your right, and it’ll open to reveal what appears to be a small room full of junk. Shoot or attack the junk and assemble the remaining Lego pieces behind it to get another Minikit.
Hunk of Junk
For this one, simply input the buttons shown on the screen of the small, already accessible terminal where the Millenium Falcon is being fixed. Then, you’ll need to pull the two crates to the edge of the platform and the Minikit will be revealed. While playing as a Villain, or a character in a Villain costume, activate the Villain terminal in the area where the Millenium Falcon is being fixed. Then, mount the Gonko by the Millenium Falcon and bring it to the platform here. With the machine here powered, it’ll produce a Minikit! Once you power the ladder as Old Ben Kenobi, you can go up a level to then power the crane using the Sensor Dish. Head up the ladder and go right, but before going to the crane, go into the room on your left and destroy the crates here. You’ll be able to then build a Minikit using the Lego pieces behind the crates. With the crane powered and the satellite dish atop the Millennium Falcon, go right along the bridge and into the room ahead of you. There’s a Minikit here; it’s only accessible once the crane has been used and the doors on the second level have been opened, however.
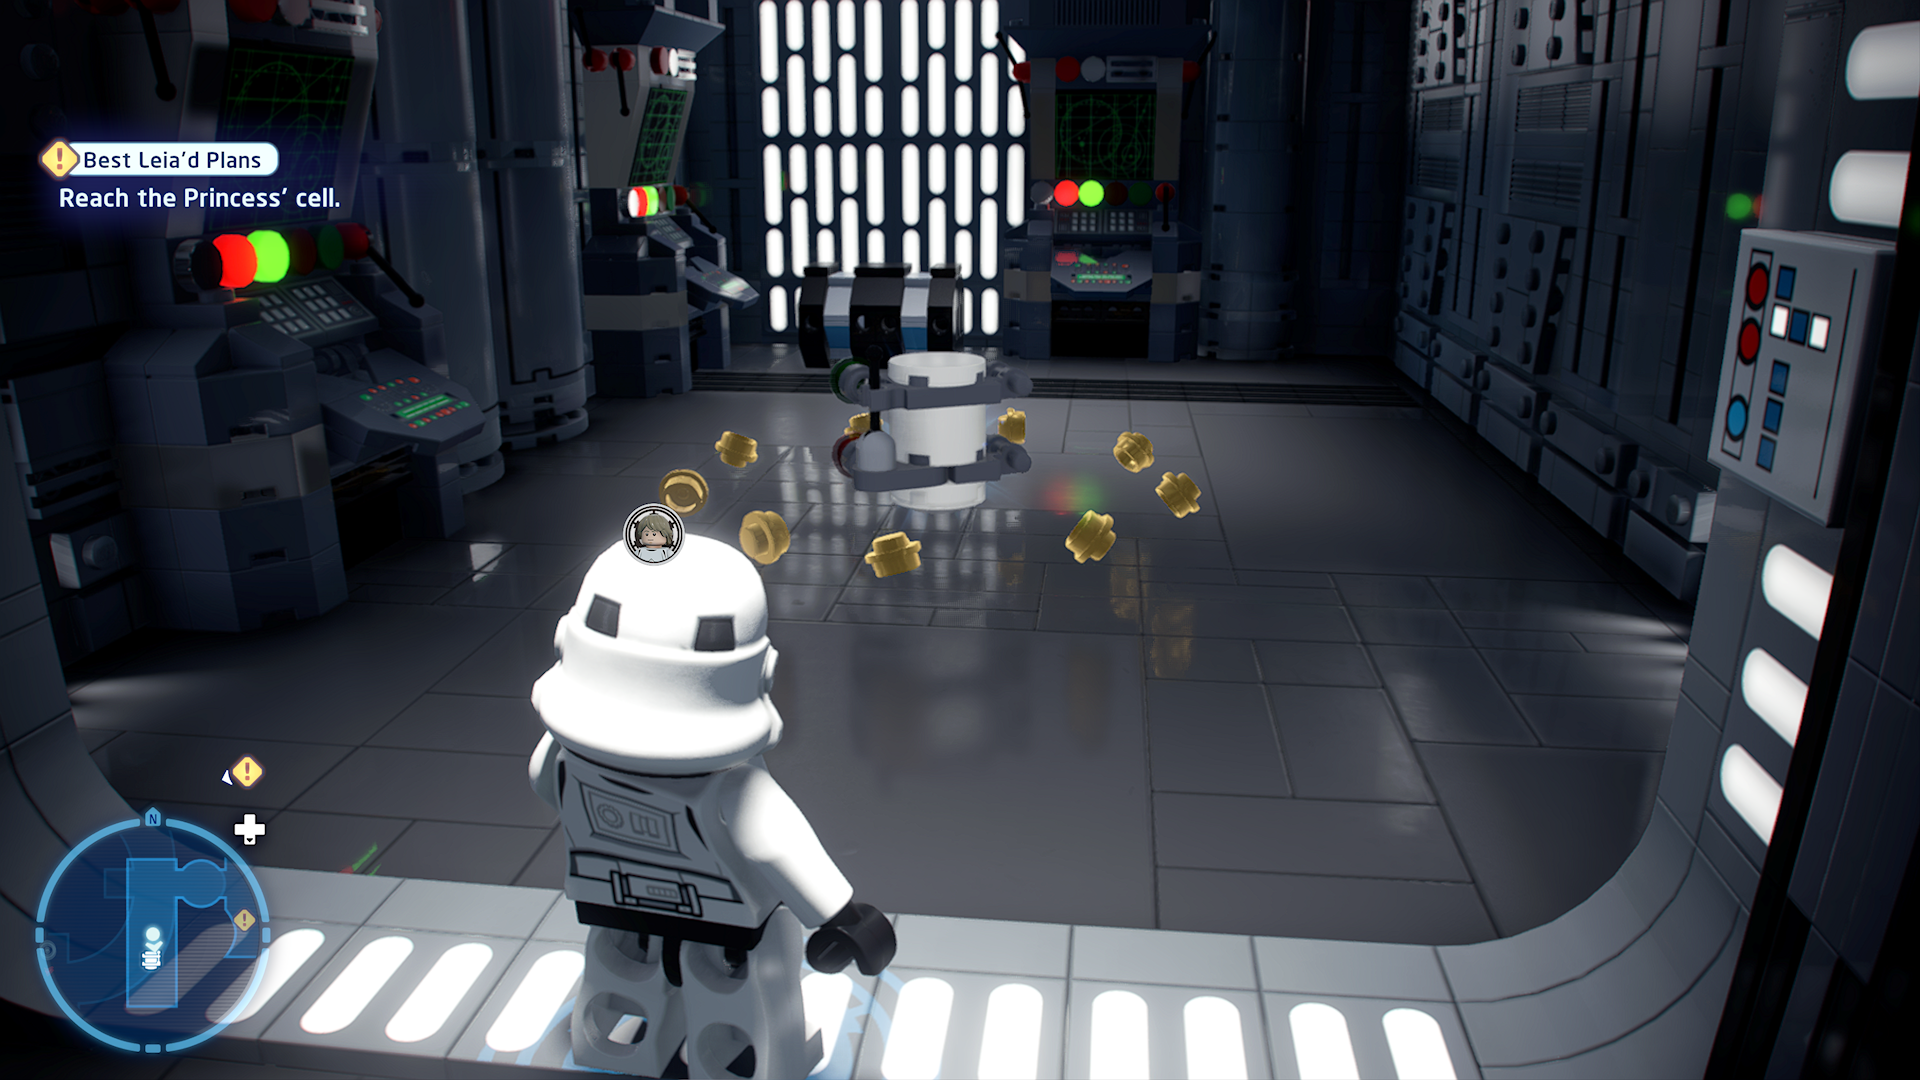
Best Leia’d Plans
After you trick the Imperials into powering the lifts by posing as Darth Vader, you can take the lift upstairs. Before proceeding to find Princess’ Leia’s cell, however, go into the room to your right to collect a Minikit first.
This is Some Rescue
Once Chewbacca and Han Solo have been able to unlock the door blocking Luke and Leia’s path, clear out the Stormtroopers and have Luke wear their outfit. While wearing this, he’ll be able to power the Villain terminal on the right-hand side of the room; viola, there’s a Minikit inside. There are three MSE’s around the area. Find and shoot them all to get another Minikit! There are small black and white bots that are marked by a blue circle on the map.
Stay on Target
At the beginning of this mission, you’ll be tasked with taking out enemy fleets, and are awarded with a Minikit for doing so. After navigating the trenches, you’ll need to collect torpedoes and destroy smaller thermal exhaust ports around the area. You are rewarding with more Minikits for clearing the smaller thermal exhaust ports along the walls, shooting enemy fleets, and ultimately escaping. Simply shoot everything.
Episode 5 - The Empire Strikes Back Minikits
Hoth and Cold
Assault on Echo Base
As you commit to taking out the AT-AT’s, there’ll be enemies positioned on the surrounding mountains. Clear out a handful of these to earn the Minikit.
Never Tell Me the Odds
As you advance onto the second part of your mission - navigating the asteroid field - keep heading forward towards your target. Just before landing, you’ll notice a Minikit in the distance near to the surface - fly into it to grab it.
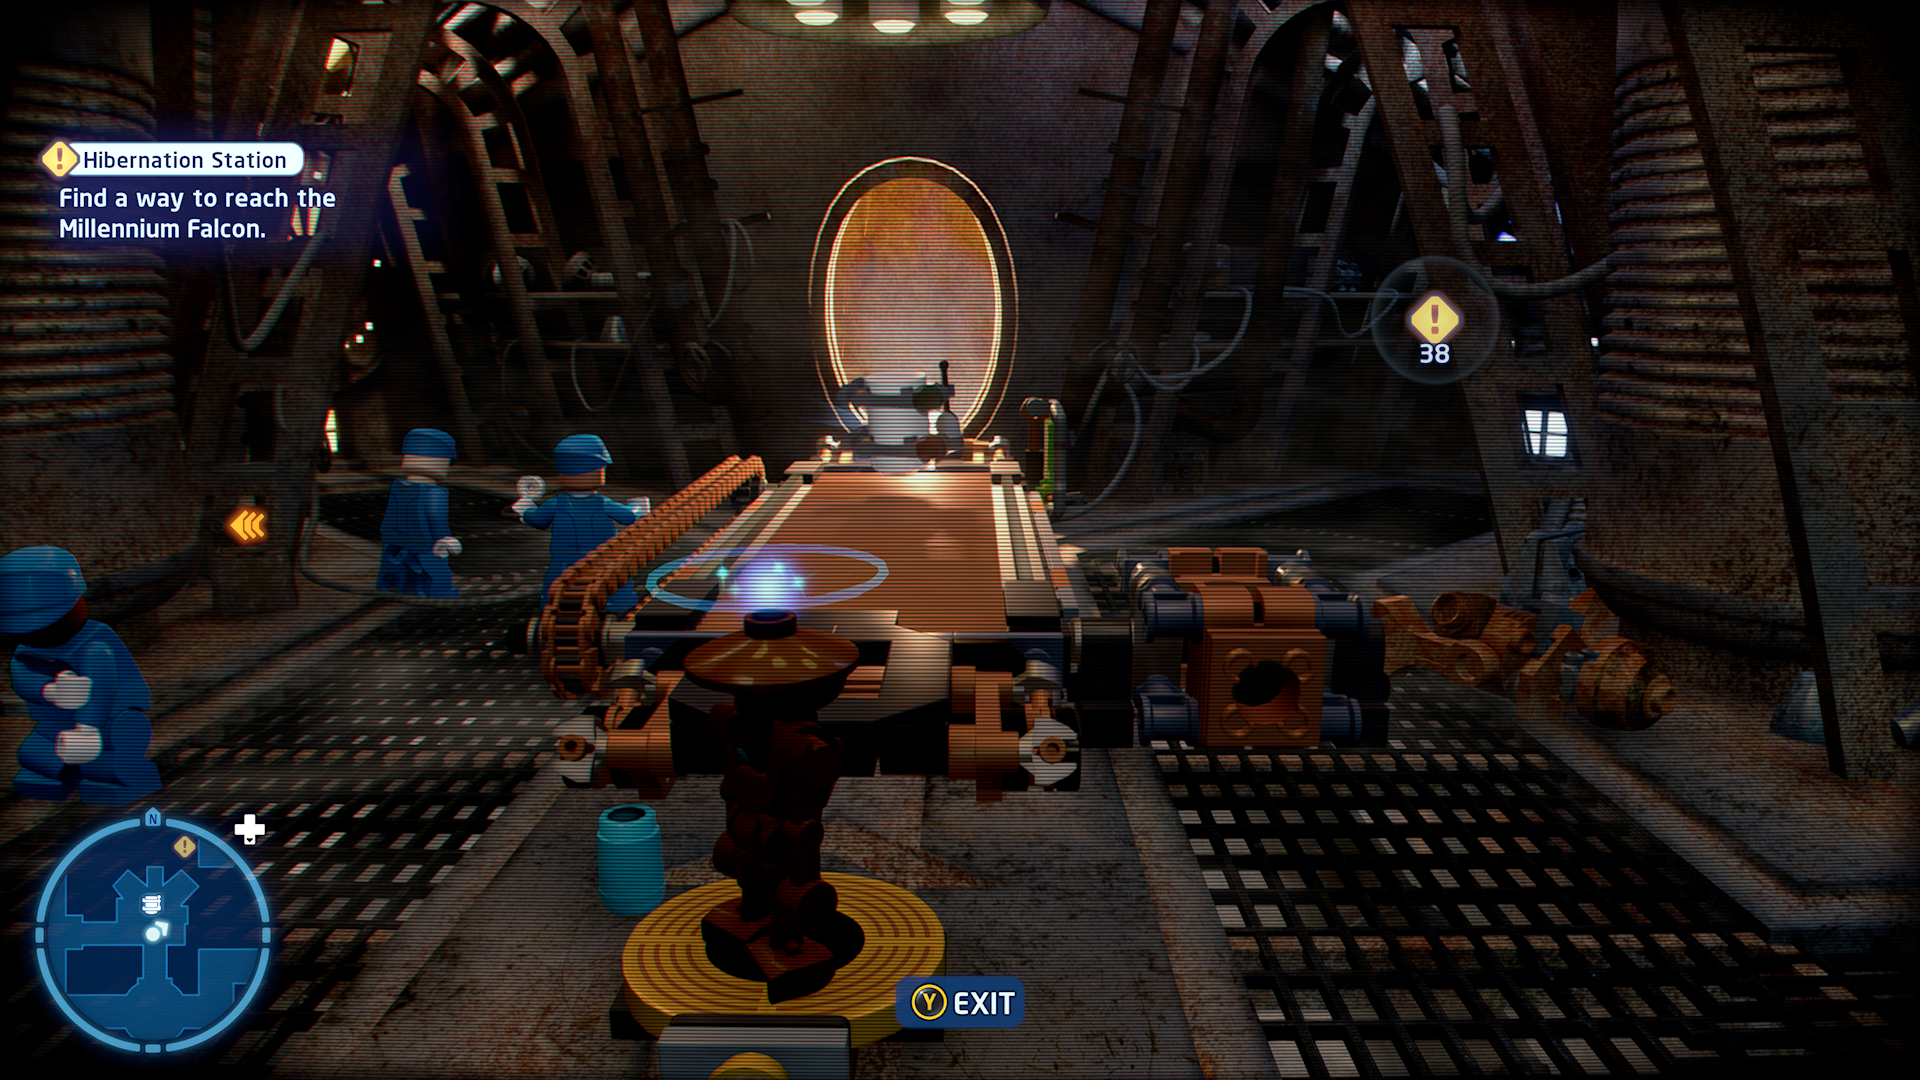
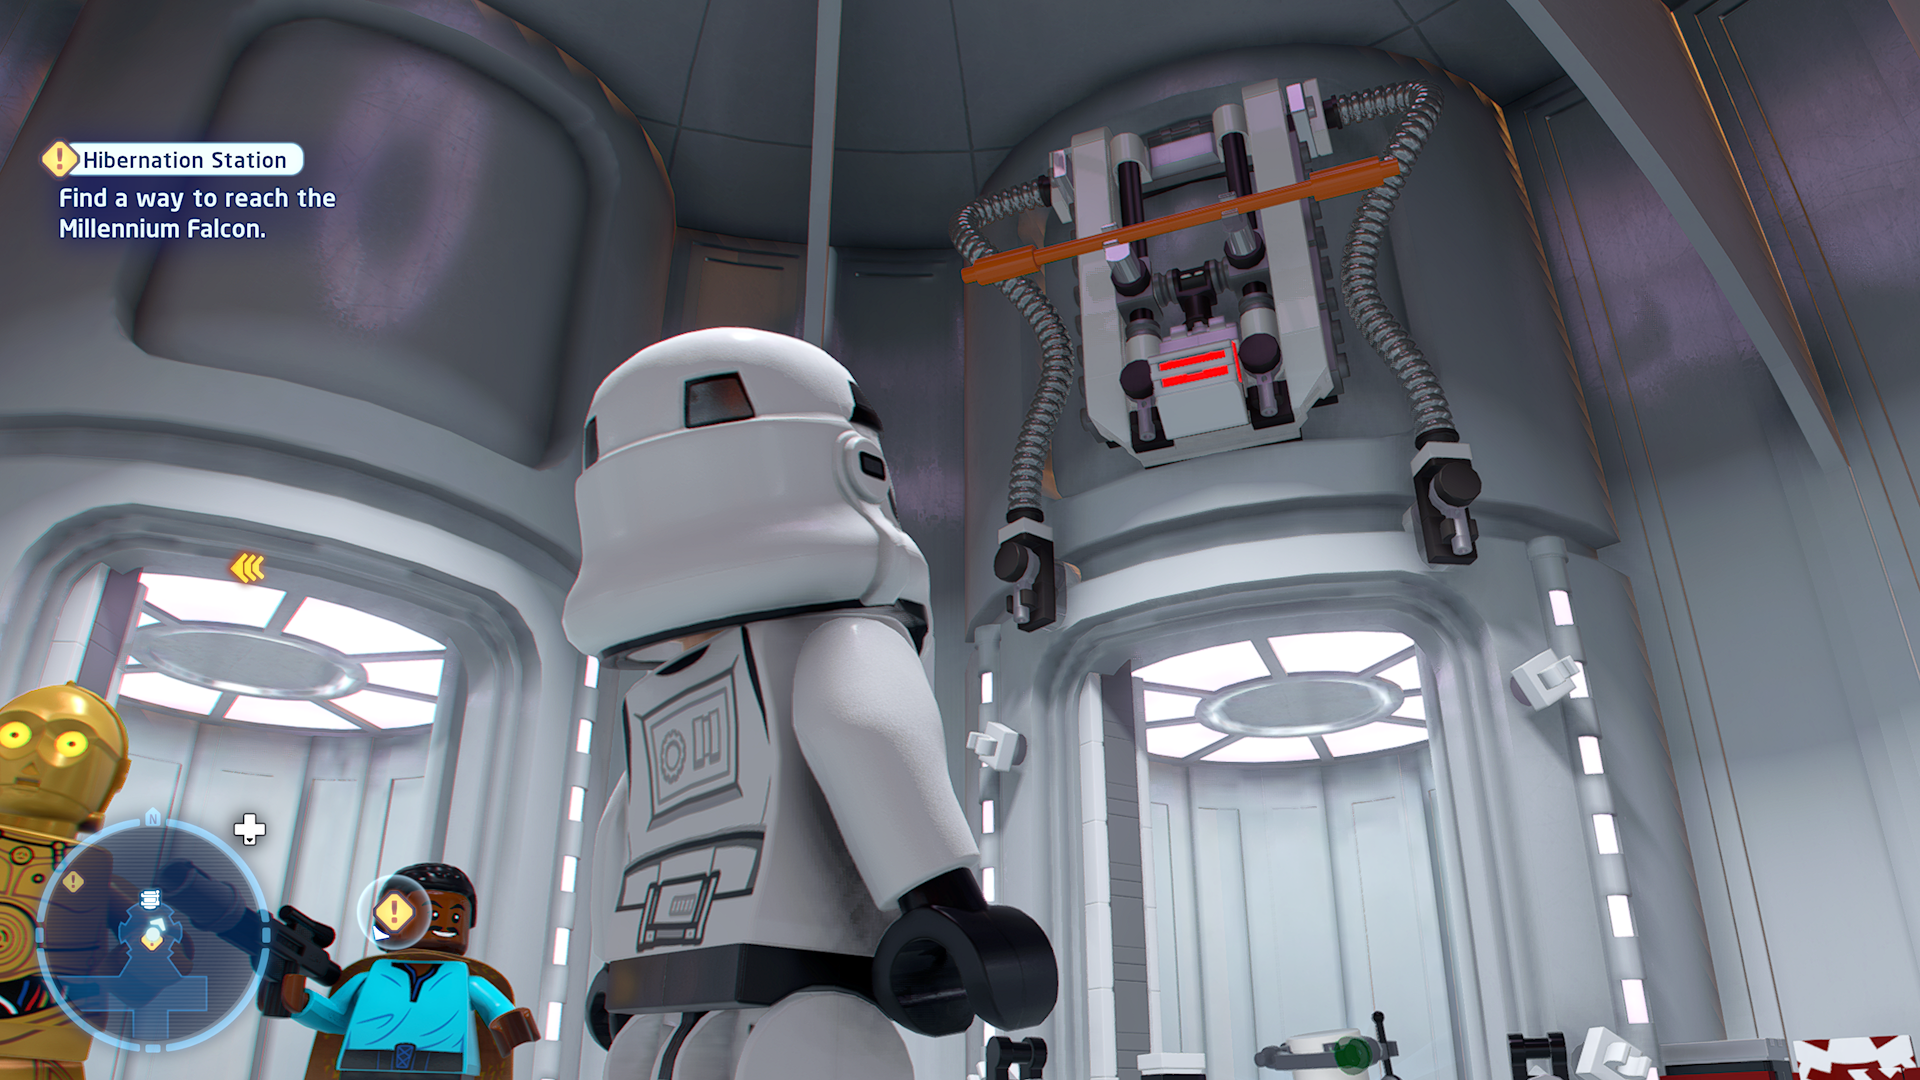
Hibernation Station
As soon as you start this level, a locked door is behind you that leads to the Cloud City Dining Room. The terminal can be accessed by C3PO, who needs to input a password that you can find from a corresponding key terminal in the galaxy. The terminal that reveals the password for this particular door can be found just around the corner. From the locked door, head into the room to your right to retrieve the password. Return to the Cloud City Dining Room terminal, input the password, and you can collect the Minikit! Grabbing this one is fortunately super easy. As Leia, go to the hero terminal that is at the area shown on the below map. Input the required buttons here, and move the container along the belt beside the terminal. Once it’s in position, a Minikit will appear! There is a C3PO terminal just outside this room that you’ll need to use first for the room to unlock. When this is done, go into the room and destroy the blocks to the left to build a contraption that’ll have the conveyor belt working. However, it’ll be stuck. Return to the C3PO terminal to power the small bot again, and use him to destroy the blockage. Now, the conveyor belt will run smoothly and a Minikit will be all yours! This Minikit can be found naturally as you make your way to the Millennium Falcon again, and you’ll have to come to this area of the map to retrieve a Keycard. The Minikit will be visible behind a broken door, and you can open the door by pulling down the lever above it using your grapple!
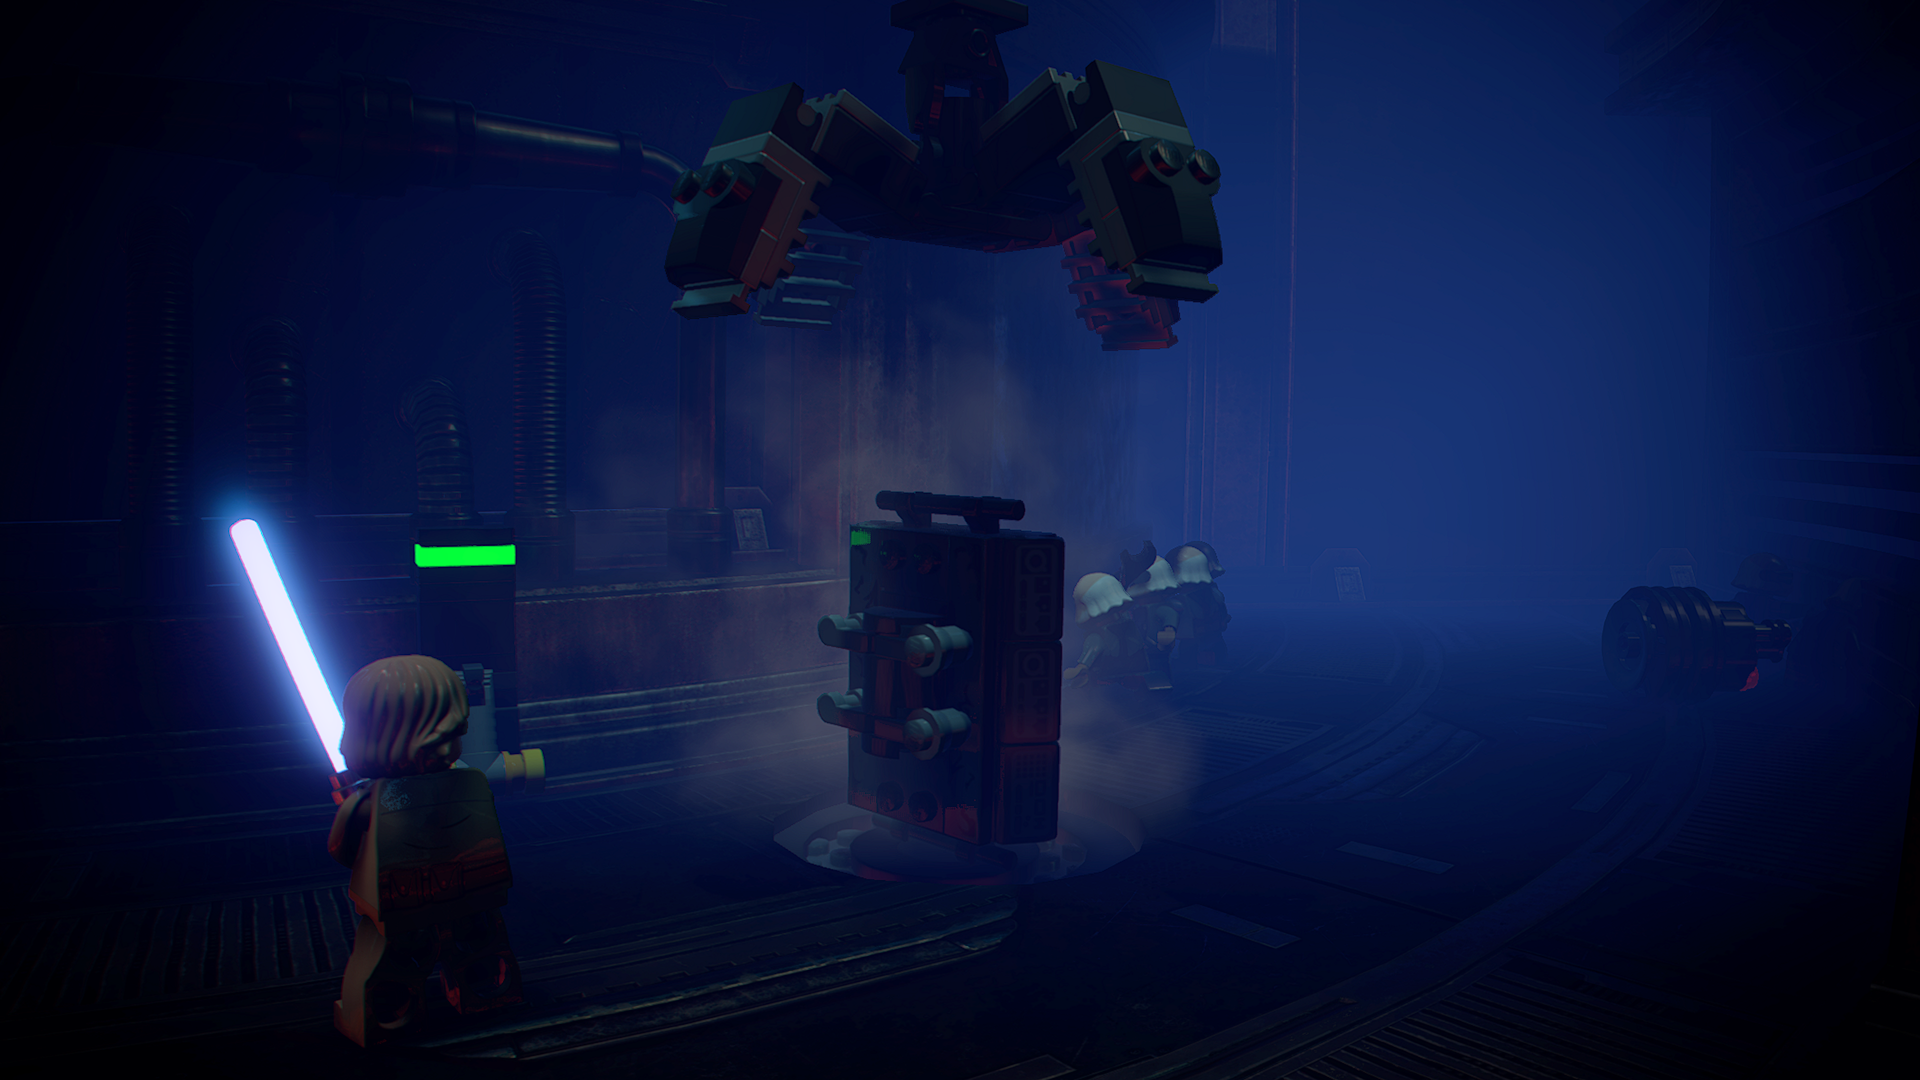
Revelations!
Interact with the terminal after your initial fight with Darth Vader. A crate will be pulled from the floor. Jump into the gust of wind, and you’ll be hurt, but a Minikit will appear from the floor immediately after! After opening the gate that Darth Vader went through after your battle, advance through to the next small room. The entrance ahead needs to be unblocked to advance with the level, but there is another gate directly facing this door that you can enter. In here, look up to the ceiling to find a vent that can be pulled down with your grapple. Viola, the Minikit will be yours! In your pursuit of Darth Vader (again), you’ll be taken down a corridor that has two rooms either side for you to explore first. The left contains a group of Stormtroopers practicing a dance workout, while the room on the right is a Vanity Room with a poster of Lando plastered at the back. Hit the Lando Poster and the Minikit is yours!
Episode 6 - Return of the Jedi Minikits
A Plan to Save Han
The Copa-Khetanna
Endor the Line
At the beginning of Endor the Line, shoot and kill the three red birds flying above. During the race to stop the Stormtroopers from raising the alarm, one of them will be holding a Minikit - kill them to collect it.
The Chewbacca Defense
When riding in the AT-ST’s, a Minikit can be collected from clearing out enemies.
Fulfil Your Destiny
Episode 7 - The Force Awakens Minikits
First Order of Business
Low Flying Garbage
Reap What You Solo
Starkiller Queen
Destroying Starkiller
Episode 8 - The Last Jedi Minikits
Dameron’s Defiance
Master Codebreak-Out
No Snoke Without Fire
Chrome Dome Down
Ground A-salt
Episode 9 - The Rise of Skywalker Minikits
A Skip and a Jump
They Fly Now!
C-3P-Oh No!
The Strength to Do it
Be With Me